The
two projects presented here examine how 3D prototyping and virtual techniques
can be utilised to bring the stories of our heritage back into daily life.
3D
prototyping are emerging
technologies that offer new possibilities to render physical objects into
digital data and vise versa, such as 3D-scanning and -printing. With
Augmented Reality one can add virtual layers of contextual information on to an
object, that can than be discovered using an application on a smartphone or
tablet. With Augmented Reality, objects
are enriched and transformed into information carriers that can enrich the
story of an object beyond the walls of a museum, archive or a library. Bringing
the story of our heritage to our kitchen tables.
The
underlying questions we seek to answer with these projects are; What is the
meaning stored in all these historical objects? How does
the story behind an object change our perception and appreciation of that
object? What is the relevance of these objects in our increasingly digital and virtual
society? How are these stories relevant to us today? Augmented Reality and 3D
prototyping offer opportunities to investigate answers to these questions.
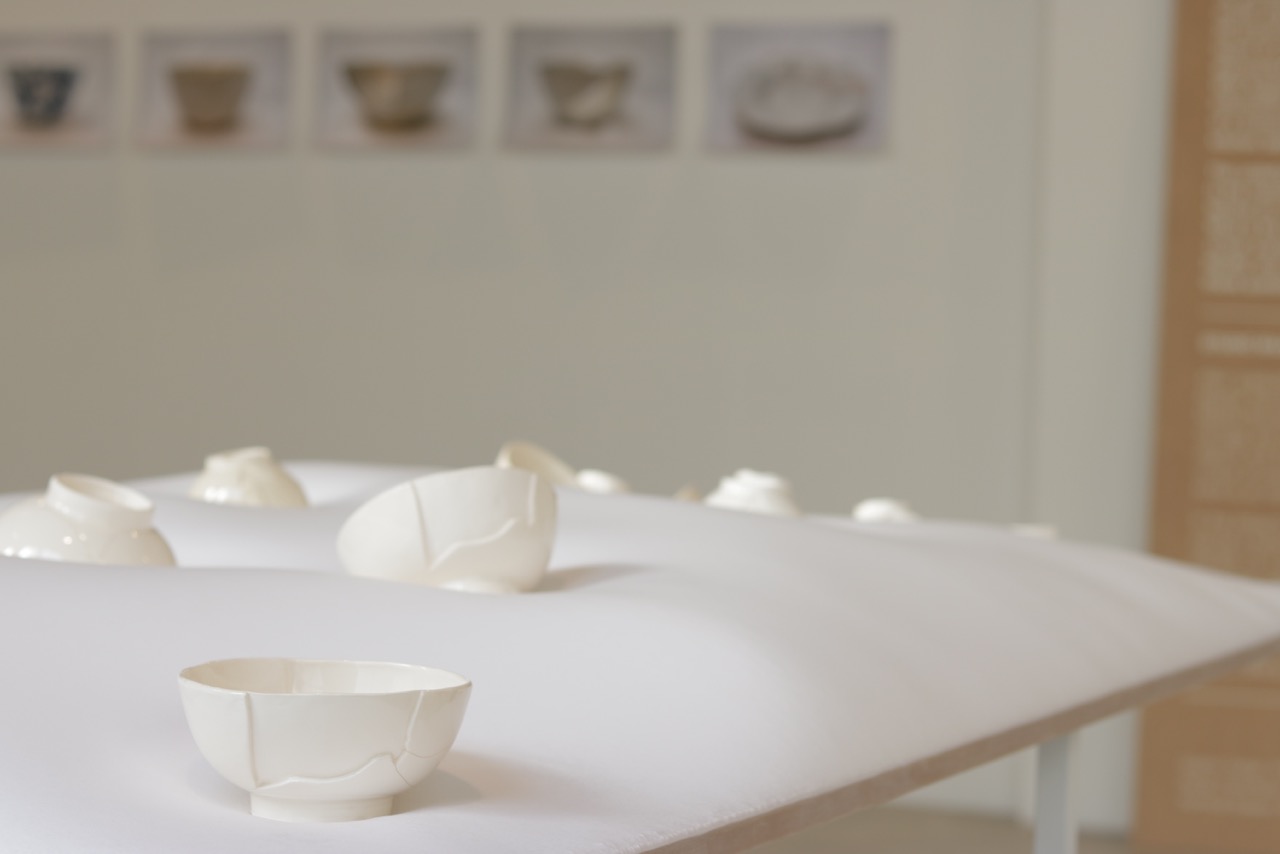
 |
| foto: Jantien Roozenburg |