True Replicas
The
two projects presented here examine how 3D prototyping and virtual techniques
can be utilised to bring the stories of our heritage back into daily life.
3D
prototyping are emerging
technologies that offer new possibilities to render physical objects into
digital data and vise versa, such as 3D-scanning and -printing. With
Augmented Reality one can add virtual layers of contextual information on to an
object, that can than be discovered using an application on a smartphone or
tablet. With Augmented Reality, objects
are enriched and transformed into information carriers that can enrich the
story of an object beyond the walls of a museum, archive or a library. Bringing
the story of our heritage to our kitchen tables.
The
underlying questions we seek to answer with these projects are; What is the
meaning stored in all these historical objects? How does
the story behind an object change our perception and appreciation of that
object? What is the relevance of these objects in our increasingly digital and virtual
society? How are these stories relevant to us today? Augmented Reality and 3D
prototyping offer opportunities to investigate answers to these questions.
Smart Replicas
Smart
Replicas is a research project pivoted on the junction of design, heritage and
technology. 'Smart Replicas' are
replicas of historical objects made useable again by combining 3D scanning and
printing techniques with ‘traditional’ ceramic techniques. Smart Replicas are
not just copies though. Smart refers to intelligent enrichedment of objects with innovative virtual technologies that
enable the object to carry information, so that outside of the museum they
provide stories about its origin and history. And of course still serve their
original intent.
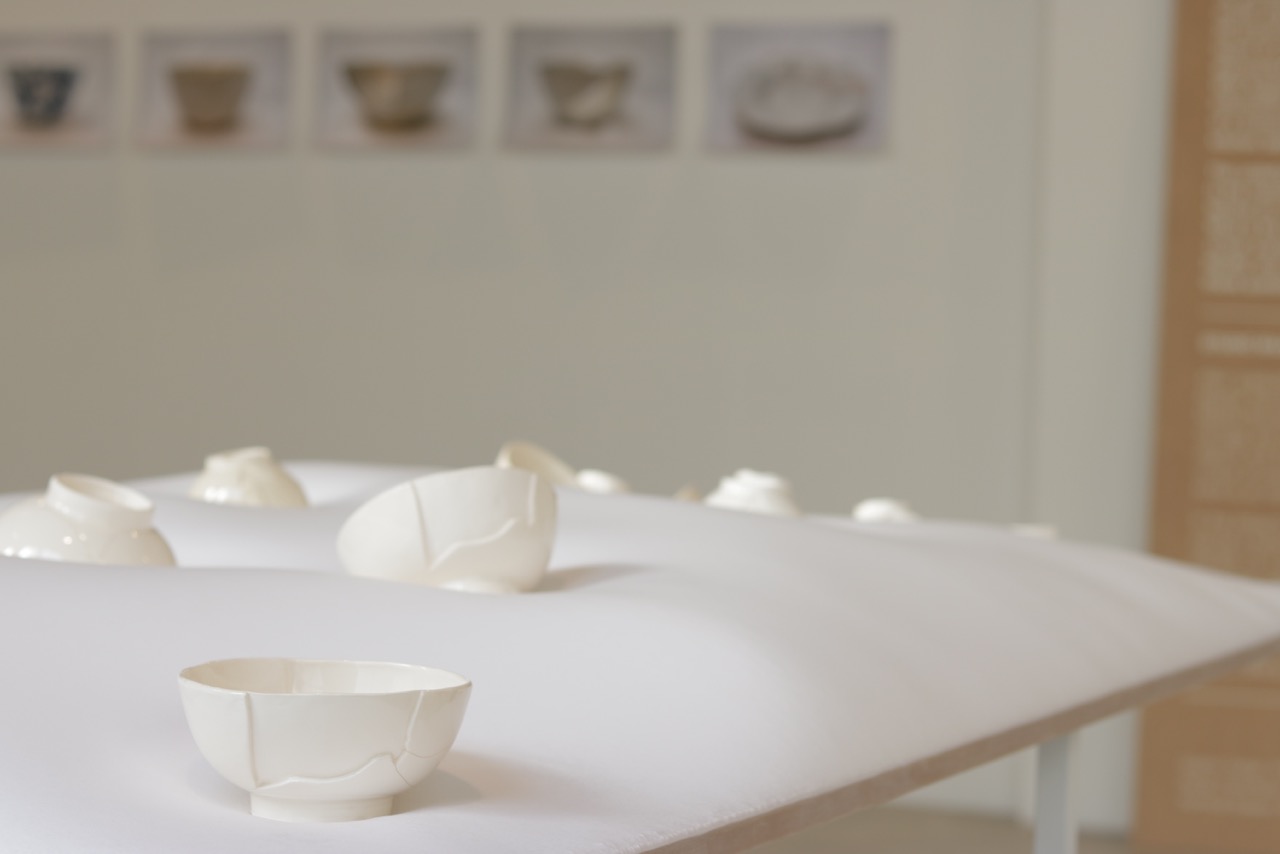
In this
show we present the initial prototype of a Smart Replica based on a
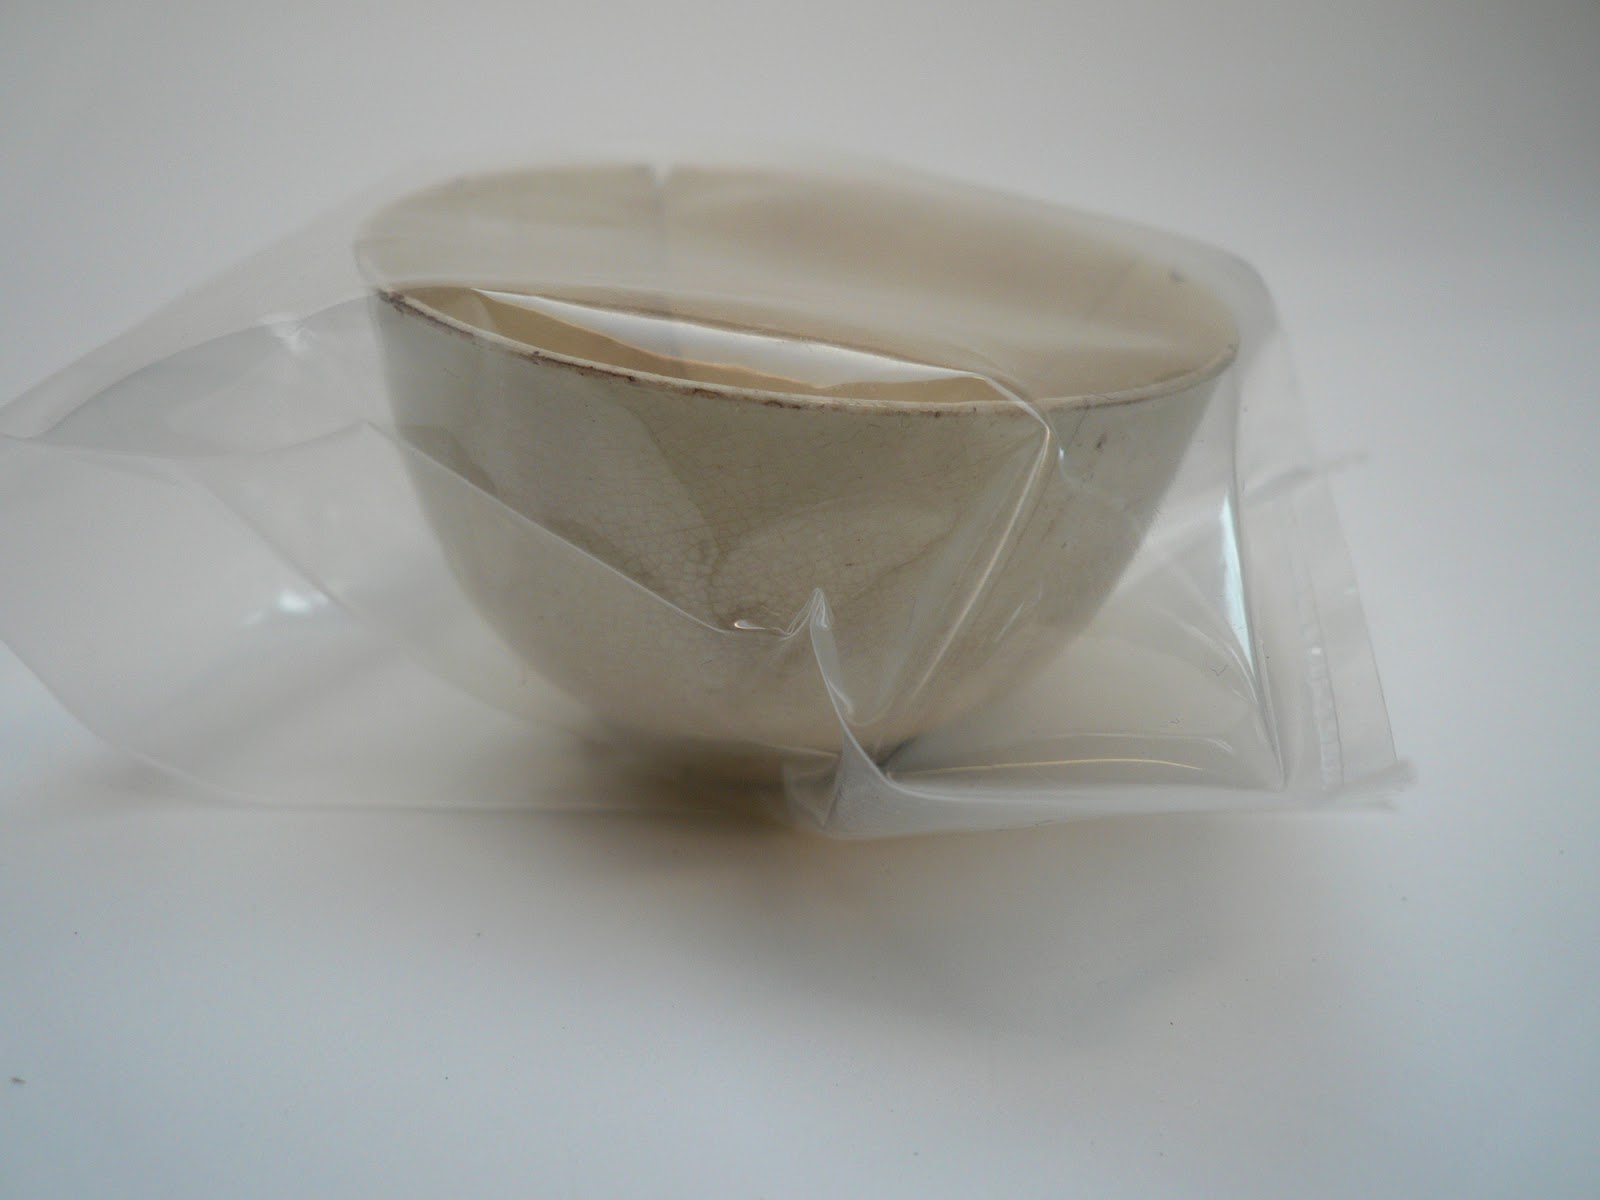
seventeenth-century teacup from the collection of Museum Boijmans Van Beuningen.
This object was chosen not only for
its great beauty but also because we have a wealth of contextual data about its
history. The replica can be scanned with an iPad on the table to discover its
history. These stories are shown
through the tablets camera in 3D animations placed around the object. One can navigate
through the animations by moving the camera around the object and by tapping and
swiping the timeline shown in the animation.
Smart Replicas is a
project of Studio Maaike Roozenburg in collaboration with Museum Boijmans Van
Beuningen, Delft Technical University and digital agency LikeFriends.
Smart Replicas
is supported by the Rijks Museum,
Amsterdam Museum, Zeeuwsmuseum, Van Gogh Museum, Victoria & Albert Museum, Mareco
Prototyping, InEdition|Grafic Design, Prins Bernard Cultuurfonds, Sunday
Morning at EKWC, Atlas of Mutual Heritage and Stichting DOEN.
Exploring Replicas
With
Exploring Replicas, we are researching
these technologies, aiming to stretch the boundaries of traditional notions of
the replica as an autonomous object based on a historical source. The goal of
the project is not to make the most literal copy of the original, but to
analyze, communicate and enhance those qualities of the historical source that
are most meaningful for us now. These replicas allow us to articulate specific
qualities of the historical source, and to isolate and communicate them through
their reproduction.
Exploring Replicas is a
project in collaboration with Monuments & Archaeology
Department City of Amsterdam, Delft University of Technology and the Royal
Academy of Art with the support of Amsterdam Fund for the Arts.
With special thanks to: Prof.dr. Jerzy Gawronski, Ron Tousain, Dr.Ir. Jouke Verlinden, Yvo van Os, Bart Vissers, Lotte de
Reus, Kotryna Valečkaitė, Sander Pliakis, Irene Neels en Jorinde Smitser.