As the project slowly went into
motion we had the first digitizing session in the laboratory of
Geosciences&Engineering. Our group was provided with the luxury to
first hand observe both micro- and macro-CT scanners in working. Both
with their advantages and limitations, they gave us a new perspective of
how to order and process given archaeological objects.
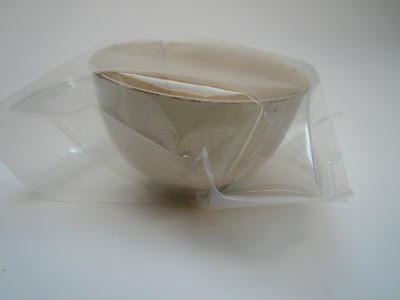
When Maaike came in with boxes full of ceramics from the Archaeological archive of Amsterdam, we understood that it was neither efficient, nor possible to scan them all. At this point selection was crucial. At first sight we had three main groups of objects: lice combs (highest level of detail), broken colored ceramics bound with metal strings (necessity to make more detailed scans to understand the technique) and sets of white ceramic tableware lacking multiple shards.


The latter seemed to be the closest to the issues visible in the goal of the project. Yet the other two gave us interesting side paths which would improve overall understanding of the methods and possibilities of 3D scanning. Based on this, we made a queue sorted by importance, which would lead to at least one object of a group scanned.

After the first inspection of the digitized forms we were rather amazed that the precision of 0,3mm was not sufficient for some of the fine-detailed specimens. E.g. the combs lost their teeth, metal bindings were muffled, crack lines barely visible. Consequently we were offered to work with much finer machinery (micro-CT scanner) mostly used for small scale material research. Yet the time and money needed for this method led to only two specimens scanned: the finest ivory comb and a detail of a metal connection. In total we got 13 scans, excluding identical scans in higher precision. The notes and conclusions after this are as follow:
1. There are 2 CT-scanners in the Geoscience&Engineering laboratory:
When Maaike came in with boxes full of ceramics from the Archaeological archive of Amsterdam, we understood that it was neither efficient, nor possible to scan them all. At this point selection was crucial. At first sight we had three main groups of objects: lice combs (highest level of detail), broken colored ceramics bound with metal strings (necessity to make more detailed scans to understand the technique) and sets of white ceramic tableware lacking multiple shards.


The latter seemed to be the closest to the issues visible in the goal of the project. Yet the other two gave us interesting side paths which would improve overall understanding of the methods and possibilities of 3D scanning. Based on this, we made a queue sorted by importance, which would lead to at least one object of a group scanned.

After the first inspection of the digitized forms we were rather amazed that the precision of 0,3mm was not sufficient for some of the fine-detailed specimens. E.g. the combs lost their teeth, metal bindings were muffled, crack lines barely visible. Consequently we were offered to work with much finer machinery (micro-CT scanner) mostly used for small scale material research. Yet the time and money needed for this method led to only two specimens scanned: the finest ivory comb and a detail of a metal connection. In total we got 13 scans, excluding identical scans in higher precision. The notes and conclusions after this are as follow:
1. There are 2 CT-scanners in the Geoscience&Engineering laboratory:
- Macro-scanner can be used to scan rather big objects, but the fine details are almost completely neglected; object is stationary, thus there is a small chance of damage. Precision 0,3mm.
- Micro-scanner is very slow (1h per object) and has very limited object size: till 100-120mm in diameter; object is rotating, thus it needs to either be glued or fixed, which requires extra attention not to damage the object. Precision 0,03mm.
- Both scan only the form and not color; they can detect cavities, but not slight changes in the material density


